

Complete Die Making Steel Rule Manual Bender: Your Ultimate Guide
2026-10-23
Are you tired of wrestling with inaccurate bends and wasted material in your die-making process? A steel rule manual bender might be the unsung hero your workshop needs. Whether you're crafting packaging, gaskets, or intricate die-cut components, the precision and control of a manual bender can transform your workflow. In this guide, we'll walk you through everything from choosing the right machine to mastering bending techniques that pros swear by. And when it comes to reliability, ADEWO has been quietly powering shops with equipment that simply gets the job done. Let's cut through the noise and get you bending with confidence.
Why Your First Bend Usually Ends Up as Scrap
Most first bends turn into scrap because the blank was cut to the finished length instead of the flat pattern. Sheet metal doesn't fold like paper; it stretches on the outside of the bend and compresses on the inside. If you skip the bend allowance calculation, or guess at a K-factor you don't fully understand, the final part comes out long, short, or with holes that land in the wrong spot. Add in a dull punch, a worn die, or a press brake operator still learning where the ram actually stops, and that first piece rarely survives inspection.
There's also the quiet problem of springback. The metal flexes under load, but the moment pressure releases, it relaxes a few degrees back toward flat. Newcomers often bend to the angle on the print, only to find the part opens up minutes later. Different alloys, grain directions, and even temperature shifts change how much springback you get. Until you build a feel for how a specific batch of material behaves, the first bend is often a trial cut that teaches you what not to do next time.
The Grain Direction Mistake That Splits Steel Rule
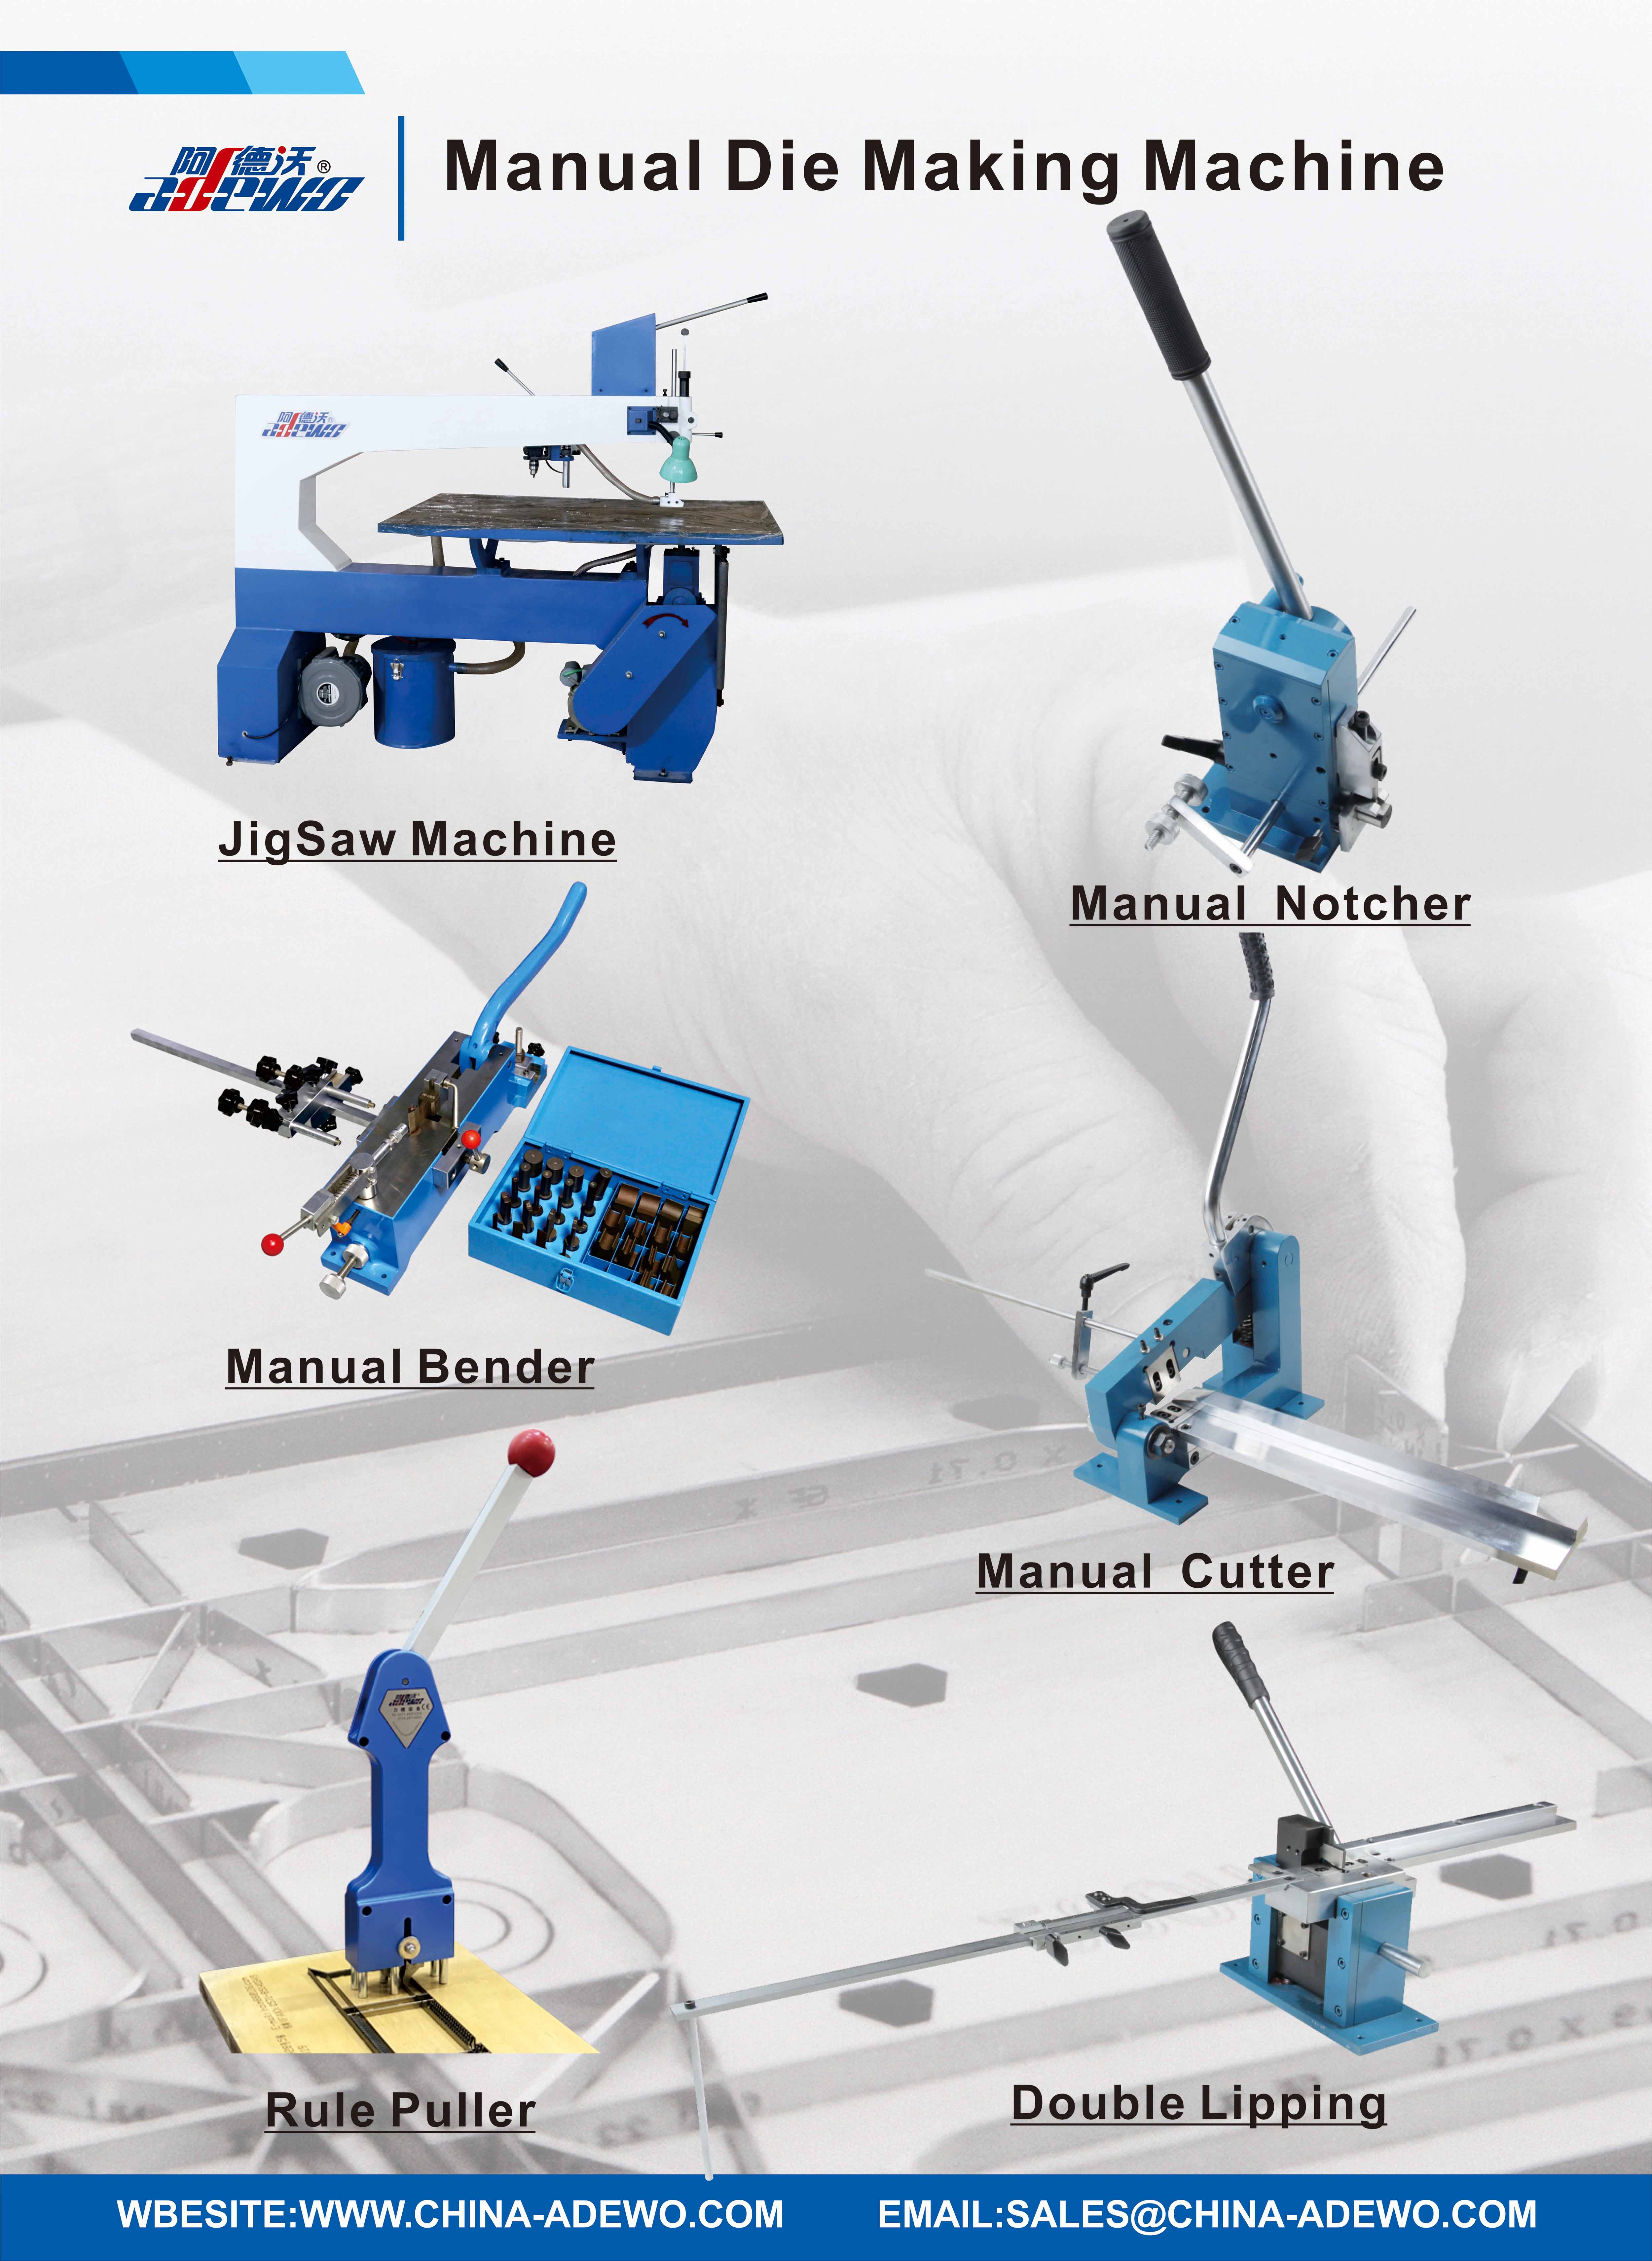
When a steel rule gets bent in the shop, the crack rarely follows the expected line. It runs jagged along a faint, silvery streak that most people never notice. That streak is the grain direction—the invisible fingerprint left by the rolling mill. Press a brake or a hammer against it the wrong way, and the rule splits like a piece of firewood, even though the steel feels stiff and unyielding under your fingers.
The mistake happens because steel isn't isotropic. During rolling, the crystal grains stretch into long, flattened ribbons. Bending with the grain forces those ribbons to peel apart; bending across the grain compresses them into each other, which the metal tolerates far better. A rule that survives a 90-degree fold one way can shatter at 30 degrees the other way, yet the difference is invisible until the first hairline fracture appears.
Before cutting or forming any steel rule, tilt it under a bright light and look for faint lines running along the length. If you're not sure, make a test bend on a scrap end and watch where the crack starts. Align your bend line perpendicular to the grain, or add a generous radius if the design forces a parallel bend. It takes ten seconds, but it saves a rule that would otherwise end up in two pieces.
Setting Stops That Anticipate Springback Instead of Fighting It
Most press brake operators treat springback like an unavoidable brawl, cranking up tonnage and hoping the metal bends far enough to snap back into the correct angle. That approach wastes time, wears tooling, and often leaves behind a trail of slightly-off parts. A smarter tactic is to set your stops with the springback already baked into the target position. Instead of aiming for 90 degrees and then over-bending by guesswork, you calculate the expected recovery for that specific material and thickness, then adjust the stop depth so the punch travels only as far as needed to hit the compensated angle on the first stroke.
The real trick lies in reading the material before you cut metal. Mild steel, stainless, and aluminum each behave differently, and even two batches from the same mill can vary. Run a short test piece, measure the actual springback, and use that number to tweak the stop position rather than relying on a generic table. You might find that a 0.8mm stainless sheet returns 3 degrees, while the same bend in 2mm aluminum only needs 1.5 degrees of compensation. Once that correction is dialed into the CNC backgauge or the manual stop, the press brake stops being a contest of force and starts behaving like a precision tool.
Another often-ignored lever is the dwell time. Letting the punch linger for half a second at the bottom of the stroke can reduce springback by giving the metal a moment to settle into its new shape, which means your stop can be set to a shallower depth. Combine that with a radius punch that spreads the bend over a wider area, and you might shave another degree off the recovery. The goal isn't to overpower the metal; it's to predict its response and set the stop so the springback happens exactly where you want it.
Manual Bending Without Breaking the Rule's Temper
In a well-tempered shop, the metalworker learns to read the metal’s mood. Manual bending is not about forcing a curve into submission but about finding the point where the material will move without losing its spring. The same holds for any rule worth keeping: you can shape it by hand, push at its edges, even fold it back on itself, as long as you respect the temper that gives it strength.
The trick lies in distributing force along the whole length of the bend, never concentrating stress at one narrow crease. A jig helps, but so does patience. Heat is seldom needed if the temper is right; a few degrees too many and the metal turns soft, forgetting its resistance. In the same way, a rule bends best when the pressure is even and the intent is honest, not when someone tries to snap it with a single sharp blow.
After the bend, the piece should still spring back a little, proving the temper is intact. That slight return is not failure but evidence of life. Manual bending, done well, leaves no marks of brutality on the metal or the rule. It simply gives a new shape to something that remains true to its original nature.
When to Reach for a Radius Block Instead of a Sharp V
When the profile calls for a smooth, sweeping arc rather than a crisp corner, a radius block saves you from fighting the geometry. A sharp V will bite into the transition and leave an unnatural crease, especially in softer materials or when you need to blend surfaces. The radius block's curved face naturally rides the contour and distributes pressure, so you get a fair curve without chatter.
You also reach for a radius block when the edge you're refining already has a slight crown or when you're matching an existing radius. Trying to force a sharp V into that shape only creates high spots and uneven wear. The block lets you follow the established profile, removing just enough material without flattening the arc. It's less about brute force and more about letting the tool do the registering.
If the work involves concave hollows or convex rounds that need to stay consistent across a length, the radius block becomes the clear choice. A sharp V can't register on a curved surface the same way—it only contacts at two narrow points. That means frequent checking and corrections. A radius block sits in the curve and gives you a continuous reference, which keeps the radius true from end to end.
Fine-Tuning the Bender for Repetitive Die Cuts
Getting a bender to produce identical die cuts over and over calls for more than a rough setup. Even minor shifts in blade alignment or feed tension can lead to slight variations that accumulate into misfits. Start by locking down the workpiece guides and checking that the die itself sits square against the ram. Small adjustments to the clamping force often remove the sideways drift that ruins repeatability.
Pressure and dwell time are the next levers to fine-tune. Too much tonnage can deform thin stock, while too little leaves partial cuts. Run a short batch and measure the depth and edge quality of each cut. If the second or third piece differs from the first, the hydraulic or mechanical linkage probably has play. Tighten the gibs or shim the die mount until the ram stroke bottoms out at the same point every cycle.
Once the machine holds dimension, watch how the material feeds. A slight curl or inconsistent thickness at the leading edge will nudge the sheet off its stop. Adding a soft brush or adjustable hold-down near the die entry can keep the stock flat without scratching it. Log the settings that work for a given material and die combination; returning to those numbers later saves re-tuning from scratch.
FAQ
It's a hand-operated tool that shapes steel rule into precise angles, curves, and notches for cutting dies. Instead of relying on CNC automation, you control the bend manually, which gives you more flexibility for custom or low-volume die work.
A manual bender puts you in direct control of each bend, making it easier to adjust on the fly and handle small batches or unusual profiles. Automatic machines are faster for high-volume repetitive shapes but cost more and need more setup.
Check the maximum rule height and thickness it can handle, the range of bend angles, and whether it supports both straight and profile rules. Also look at the build quality of the clamping and bending mechanisms—sturdy steel parts tend to last longer.
Most manual benders work with standard flat steel rule used in die cutting, but you'll need to match the machine's capacity to the rule's height and hardness. Hardened or very tall rule may require a heavier-duty model or special tooling.
Start by measuring and marking the rule, then clamp it securely in the bender. Apply steady pressure on the handle to reach the desired angle, and check against a template or protractor. For curves, make a series of small incremental bends rather than forcing one sharp turn.
Keep the moving joints lubricated and clean off metal shavings after each use. Periodically check that the clamping plates are still aligned and tighten any loose bolts. If the bending head has replaceable inserts, swap them out when they show wear.
Over-bending is a big one—steel rule can crack if forced past its limit. Also avoid using the wrong size rule for the machine, and don't skip the template check. Taking time to set up correctly prevents most scrapped pieces.
Yes, especially if your work involves prototypes, short runs, or repair jobs. It costs far less than an automated system, takes up little space, and lets you make quick adjustments without programming.
Conclusion
Most problems in manual steel rule bending come down to two things that never show up in basic instructions: grain direction and how the rule reacts to being forced past its natural springback. If you ignore grain, the steel will split even when your measurements look perfect. The first bend often fails because the blank was not oriented the same way as the final die layout, so the rule kinks or twists instead of curving. Once you get past that, the real skill is setting stops not to hit the exact angle but to hit the angle minus the amount the steel will bounce back. That changes with rule height, hardness, and even the temperature of your shop, so a stop that works in the morning may need a slight tap by afternoon.
Manual bending also demands you protect the temper. Slow, steady pressure usually beats fast lever pulls, especially on thicker rule or tight radii. When the bend needs to flow instead of crease, a radius block is the better choice; a sharp V can overwork the metal and create a weak point exactly where the die will see the most cutting force. For repetitive die cuts, fine-tuning the bender is less about big adjustments and more about recording tiny changes: stop position, handle travel, and support placement. Keeping a shop notebook with those numbers turns a one-off success into a repeatable process. Taken together, these habits keep your bends clean, your rule intact, and your die cutting consistent without relying on guesswork or re-bending scrap.
Contact Us
Contact Person: KAELYN LEE
Email: [email protected]
Tel/WhatsApp: +86 15012673758
Website: https://www.china-adewo.com